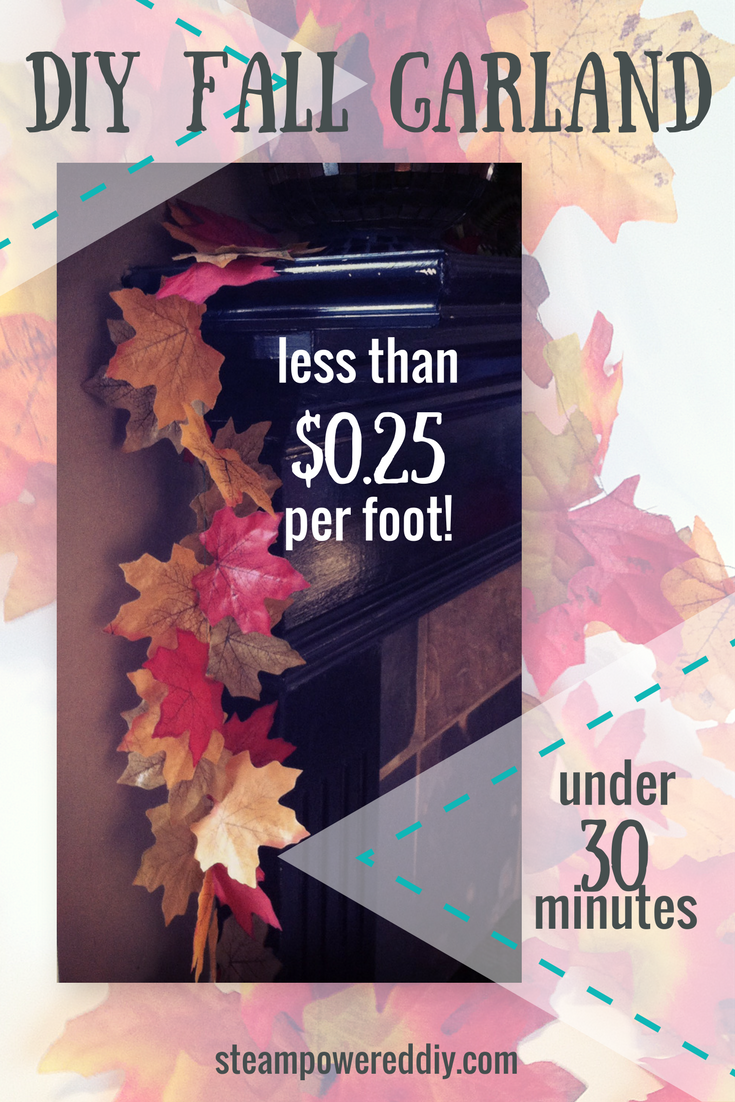
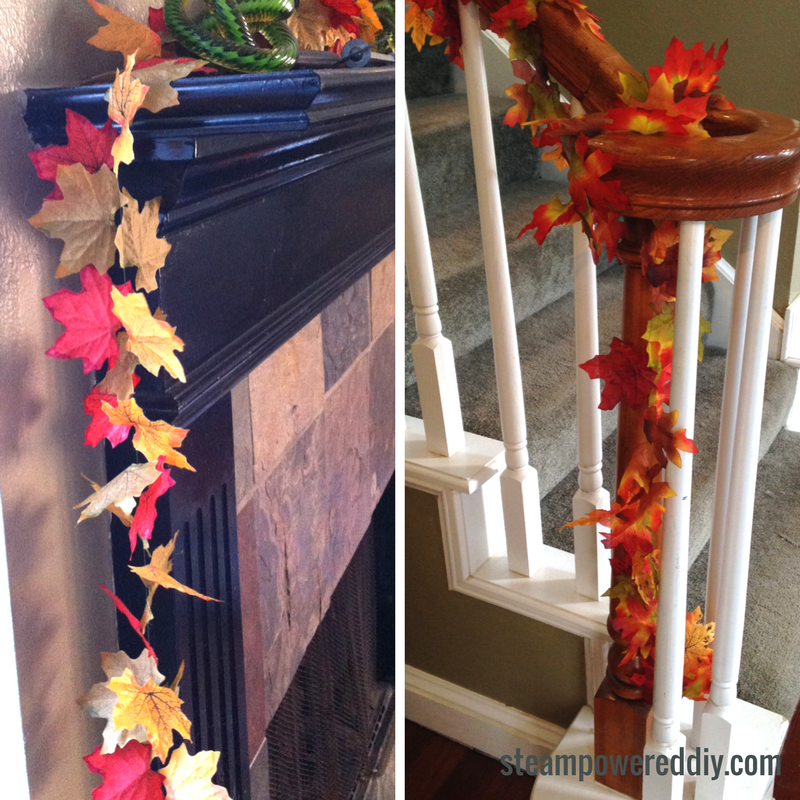
I made my first DIY fall garland several years ago and have loved decorating with it each fall. Now that we are finally getting a break from the summer heat, it’s time to make more garland to dress up the house this fall. This DIY fall garland cost less than $0.25 per foot and took under 30 minutes to make! You can use your DIY fall garland on your mantel, stairs, in a wreath, on your table decor, and well pretty much anywhere. Here is how to make your own DIY fall garland for under $5 and in 30min or less.
Supplies and Tools List:
- Sewing Machine
- Artificial Leaves (10-12 leaves per foot of garland)
– Dollar Tree: $1 per 50-ct (maple and oak) - Thread
- Scissors
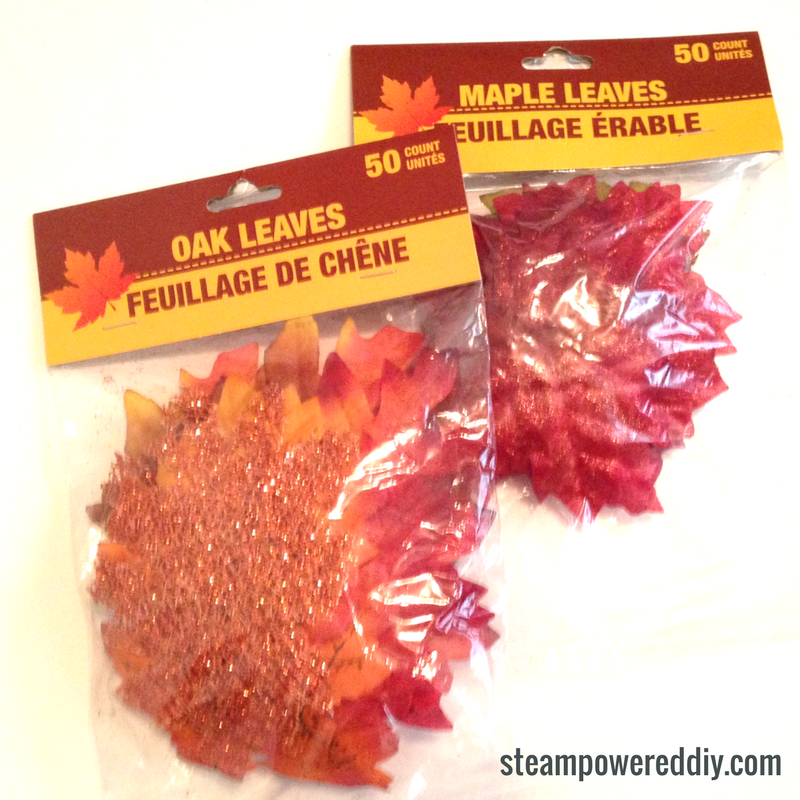
The first step is to pick up some polyester leaves. I got mine from Dollar Tree (of course). I grabbed one pack of the oak leaves and two packs of maple leaves. At only $1 per pack of 50, you can’t beat it! You will need about 10-12 leaves per foot of garland. Along with your leaves, you will also need thread, scissors, and your sewing machine. If you don’t have a sewing machine you could totally make a DIY fall garland using a few different techniques (scroll to the bottom for info).
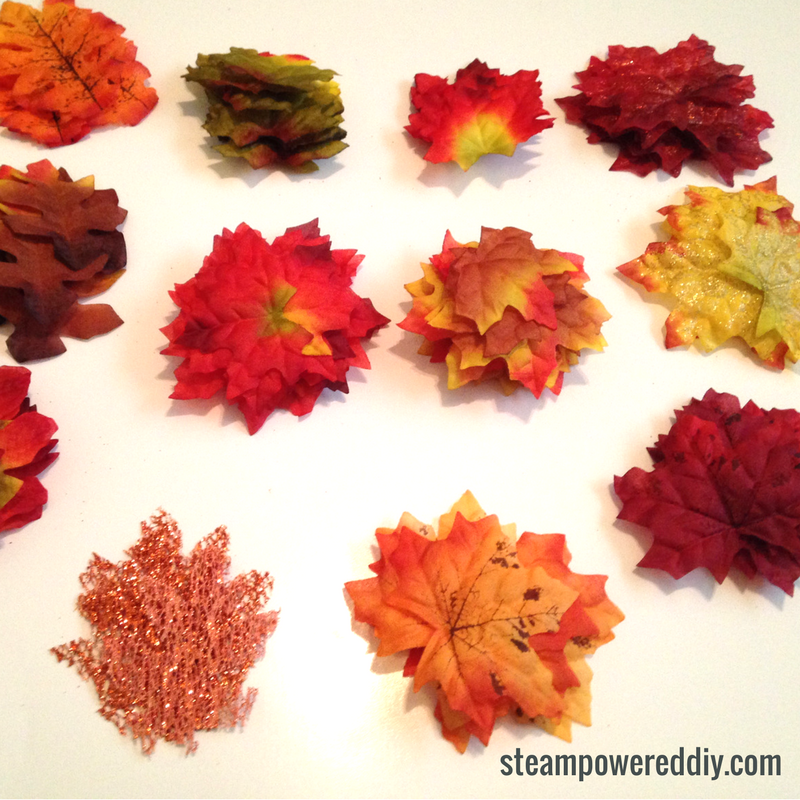
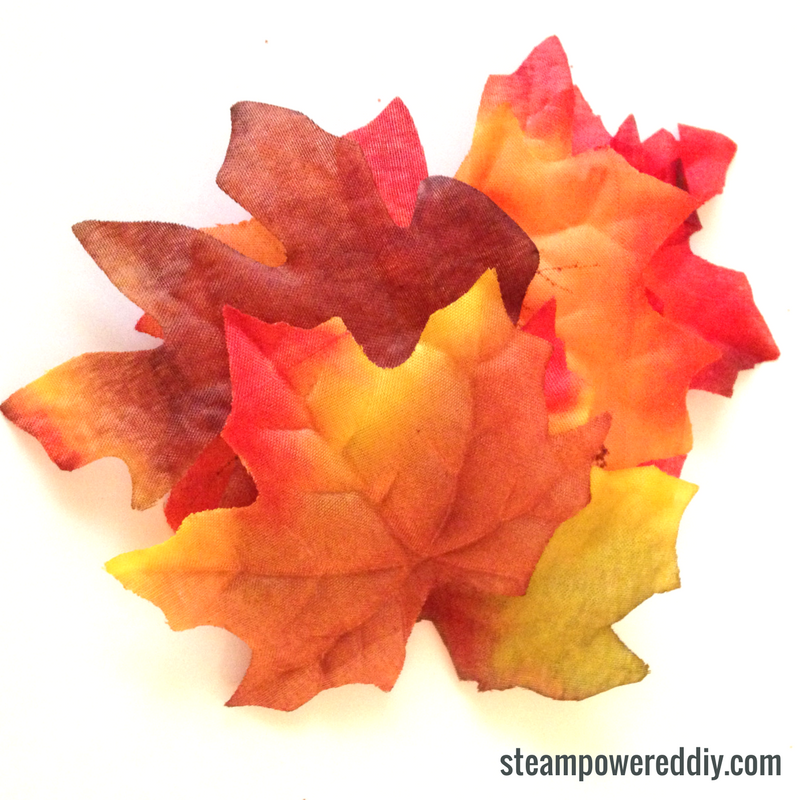
Now that you have your leaves, open up the packs and lay the leaves out. The leaves I purchased were already sorted within each pack so I put them in stacks. I didn’t want to use any leaves with glitter, so I put those away for future projects. Once you have your leaves where you can see them, create a starter stack with varying leaf shapes and colors.
Before you can start turning the piles of leaves into a fall garland, you need to get your your sewing machine set up. You will be using a standard straight stitch with your thread of choice. I had a spool of a muddy, green color leftover that worked with the colors in the leaves. (Scroll to the end of this post for non-sewing machine options to make your DIY fall garland by hand.) Once your machine is set up it’s time to start making your DIY fall garland.
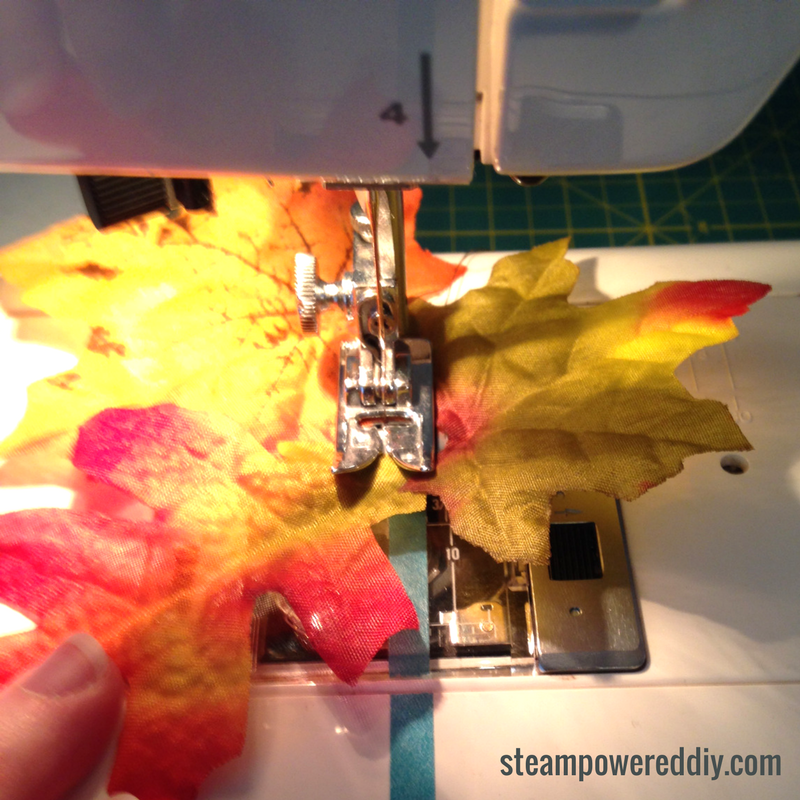
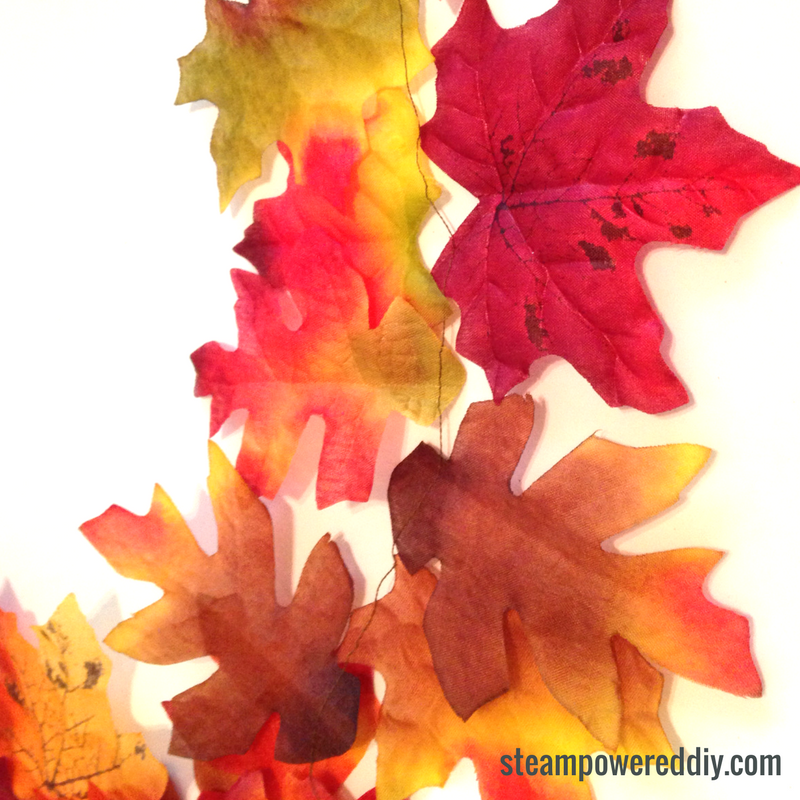
Put your first leaf under the presser foot and start your stitch. Add leaves, one after another, without overlapping. By not overlapping the leaves, the leaves are able to move more freely and will lay and drape more naturally. Pause sewing to create a stack with varying leaf colors and repeat as each stack is used. You can sew all the leaves in one long garland and then cut lengths of garland form the stand to the lengths needed. I used three packs (50 each) of leaves, minus the leaves with glitter. My garland came to about 12.5 feet. From the time I sorted leaves, until the garland was complete, it took just under 30min. This was with pausing for photos as well 🙂
If you want to make this DIY Fall Garland without the use of a sewing machine, try one of these options: glue the leaves onto yarn; glue the leaves to each other, end to end; or thread the leaves onto thread or embroidery floss by hand.
With a little bit of time and a few dollars you can make a DIY Fall Garland that you will enjoy for years to come!